Come see us at our new location at 2727 Saint St., Houston, TX 77027
As Seen In
American Salon Houston Chronicle Houston Modern Luxury Vogue Allure

Hair Salon Blog: Essential Hair Care Tips and Insights

Hair Color Ideas That Complement Your Skin Tone

How to Blow Dry Hair for Salon-Worthy Results at Home ImageThe right hair color can do more than change your look—it can make your skin look healthy, glowing, and radiant. The key is understanding your skin tone and undertone so you can choose a shade that enhances your natural complexion instead of washing it out. Whether you are in the mood for a bold change or want to brighten things up, we will help you find the most flattering shade for a natural, effortless glow.

Understanding Skin Tones and Undertones

Before picking a hair color, you need to know your skin’s undertone—it makes certain shades pop and others fall flat. Not sure where you land? This guide breaks it down so you can find the most flattering color for you.

  • Warm Undertones: If your veins appear greenish and gold jewelry looks best on you, you likely have warm undertones.
  • Cool Undertones: If your veins look blue or purple and silver jewelry flatters you more, you have cool undertones.
  • Neutral Undertones: If you see both blue and green veins or suit both gold and silver jewelry, you have a neutral undertone, meaning you can wear various shades!

Knowing your undertone helps match your hair color to your skin tone so that your new shade looks seamless rather than out of place.

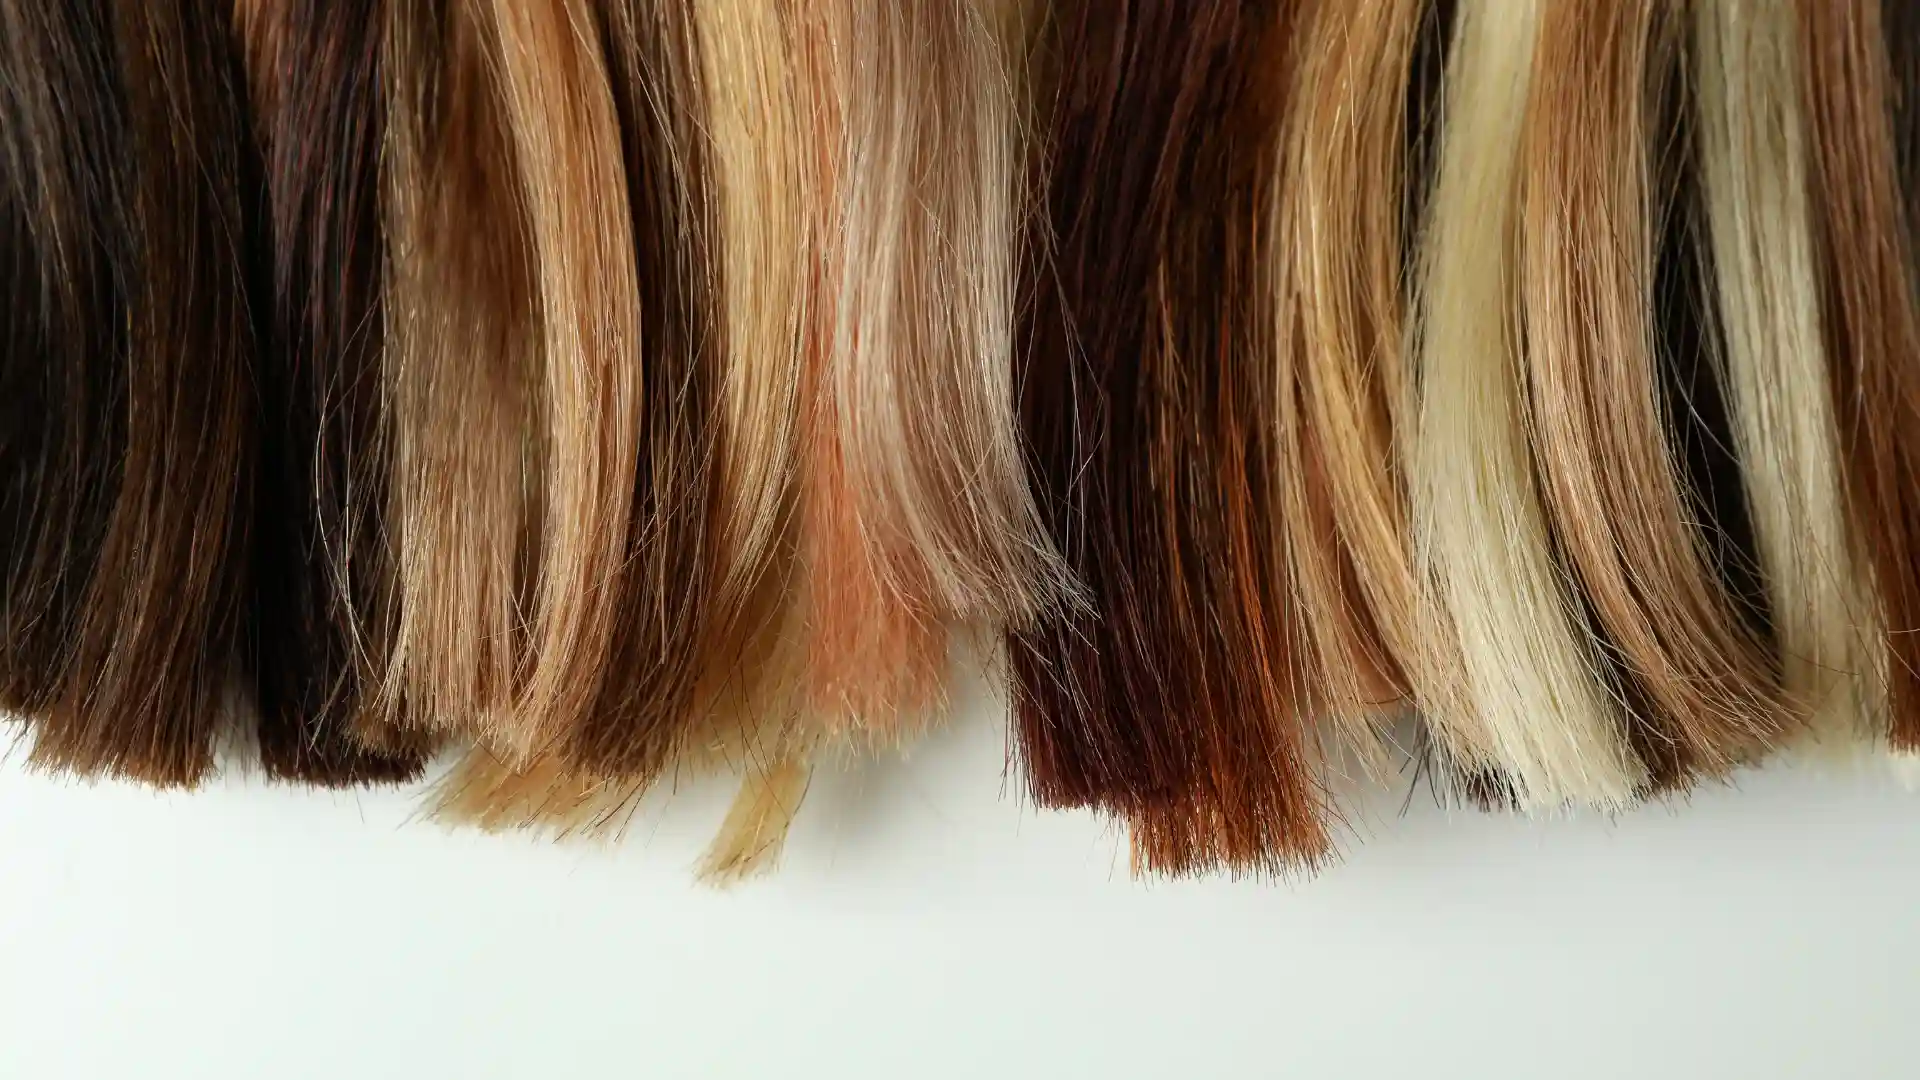
Hair Colors for Different Skin Tones

Once you have identified your undertone, you can explore which hair colors will be most flattering for you.

Fair Skin Tones

Fair skin tones can be warm, cool, or neutral, and the right shade enhances your complexion. Warm undertones glow with golden blondes, honey hues, and caramel tones, while cool undertones suit ash blonde, platinum, and cool champagne shades. Neutral undertones can pull off soft beige blondes, sandy tones, and light copper for a natural yet polished look.

Medium Skin Tones

Medium skin tones have a perfect balance, making them versatile for various shades. Warm undertones shine with rich browns, golden balayage, and caramel highlights for added dimension. Cool undertones suit chocolate brown, espresso, and soft auburn without looking brassy. Neutral undertones glow with bronde, toffee hues, or soft balayage for a natural, effortless look.

Olive Skin Tones

Olive skin tones are lucky—your undertones pair well with warm, neutral shades. Rich espresso, warm chestnut, deep golden blondes, and cinnamon tones enhance your natural warmth, creating a radiant look. Avoid overly ashy shades, as they make your skin appear sallow instead of bringing out its natural glow.

Dark and Deep Skin Tones

Dark and deep skin tones glow with rich, intense hues that add contrast and vibrancy. Warm undertones suit deep chocolate, mahogany, warm burgundy, and golden caramel highlights. Cool undertones shine with blue-black, dark plum, and espresso browns. Neutral undertones can pull off chestnut browns, warm reds, or honey balayage for a universally flattering look.

Bold Hair Colors

Some people love natural hues, while others enjoy experimenting with bold, statement-making shades. If you want to go bold, the right vibrant shade can make your skin glow.

  • Fair skin tones shine with cool pastels like icy blue, soft lavender, or bold cherry red.
  • Medium skin tones can rock rich jewel tones like emerald green, sapphire blue, or deep auburn.
  • Olive skin tones look stunning in warm, fiery shades like copper, bronze, or deep teal.
  • Dark and deep skin tones can pull off intense hues like electric violet, rich ruby red, or bold cobalt blue for a striking contrast.

No matter your skin tone, the right bold shade can bring out your features and make your complexion pop. Whether you’re thinking about a vibrant new look or just want to switch things up, see what’s possible with professional coloring services and find a shade that’s perfect for you.

Low-Maintenance Hair Color Options

Various hair strands in mixed blonde, brown, and dark shades.If you do not want to be in the salon every few weeks, consider:

  • Balayage or ombré: Grows out beautifully and requires less frequent touch-ups.
  • Root smudging: Blends roots seamlessly with the rest of your color.
  • Gloss treatments: Enhance shine and refresh your color without full commitment.

These options keep your color looking fresh without constant salon trips. Choosing a style that grows out seamlessly or enhances your existing hair means less upkeep and more time enjoying effortlessly gorgeous hair.

Ready to Glow? Let’s Find Your Perfect Shade!

Your hair color should do more than just change your look—it should make your skin glow, your features pop, and your confidence soar. Whether you’re craving a subtle refresh or a bold, head-turning transformation, Therapy Hair Studio in Houston is here to make it happen. Our expert stylists know how to create a shade that’s perfect for you. Ready to love your hair? Book a consultation today, and let’s find your perfect color!


How to Blow Dry Hair for Salon-Worthy Results at Home

How to Blow Dry Hair for Salon-Worthy Results at Home image

Have you ever wondered why your at-home blowout never quite matches the magic of a salon visit? The secret isn’t just in the tools—it’s in the technique. Whether you’re aiming for sleek and straight, voluminous waves or a frizz-free finish, the right approach makes all the difference. Follow this step-by-step guide to learn how to blow dry hair at home like a pro.

Preparing Your Hair for Blow Drying

A great blowout starts in the shower. Use the right shampoo and conditioner for smooth, manageable hair.

  • Fine Hair: Volumizing shampoo + lightweight conditioner for body.
  • Thick Hair: Moisturizing shampoo + hydrating conditioner for shine and frizz control.
  • Curly/Wavy Hair: Sulfate-free shampoo + rich conditioner for definition.
  • Oily Scalp: Clarifying shampoo + conditioner only on ends to prevent greasiness.
  • Best Routine: Massage shampoo into your scalp, rinse well, repeat, and then apply conditioner from mid-length to ends. Let it sit, then rinse.

This routine helps prep your hair for an easier, longer-lasting blowout.

Pre-Blow Dry Prep Checklist:

Prepping your hair properly after your shower helps achieve a longer-lasting style while minimizing damage.

  • Use a microfiber towel or cotton T-shirt instead of a regular towel to prevent frizz.
  • Apply a heat protectant to shield your strands from damage and lock in moisture.
  • Detangle your hair with a wide-tooth comb to reduce breakage and simplify styling.
  • Use styling products based on your hair type.

These steps ensure your hair stays healthy, manageable, and ready for flawless styling.

Essential Tools for Blow Drying

Investing in the right tools makes all the difference in achieving salon-quality results at home.

  • Hairdryer: Ionic reduces frizz, while ceramic and tourmaline provide even heat distribution.
  • Round brush: Larger sizes add volume; smaller ones define curls.
  • Flat paddle brush: Ideal for sleek, straight styles.
  • Sectioning clips: Keep hair manageable for precise styling.
  • Nozzle attachment: Focuses airflow for smoother results and minimizes heat damage.
  • Diffuser attachment: Enhances natural curls and waves.

With the right tools, achieving a flawless, salon-worthy blowout at home is easier than ever. Visit our blowout services page for tips and answers to all your blowout questions!

Blow-Dry Styles for Different Hair TypesA person blow-drying brown hair using a round brush.

  • Straight & Sleek: Use a paddle brush with the nozzle pointing downward to smooth hair and reduce flyaways. Apply a light smoothing serum before drying to tame frizz and after to add shine and polish.
  • Voluminous Waves: Wrap hair around a round brush, pulling upward for lift—alternate directions with each section for a natural, tousled look. A lightweight mousse or texturizing spray can enhance volume and hold.
  • Defined Curls: Attach a diffuser, scrunch hair upward, and use low heat to maintain curl shape while minimizing frizz. A curl-enhancing cream or light gel helps keep curls bouncy and defined.
  • Quick Blow-Dry Tips: Keep the dryer six inches away to prevent heat damage, and move it constantly for even heat distribution. Finish with a cool shot to lock in shine and style. Use a lightweight product like texturizing spray, shine serum, or volumizing powder to perfect and hold your look.

Step-by-Step DIY Blow-Dry Guide

  • Section Your Hair: Part your hair down the middle, then from ear to ear, creating four sections. Clip up the top and sides, leaving the bottom loose. Working in sections ensures even drying and better control.
  • Adjust Hairdryer Settings: Use medium heat and low speed for fine hair to prevent excessive drying. Thick hair benefits from high heat and medium speed to speed up the process. A diffuser on low heat helps define curls while reducing frizz.
  • Start at the Roots: Direct airflow at the roots while lifting with a round brush for volume. For a sleek look, use a paddle brush and follow with the dryer. Drying the roots first prevents flatness and sets the foundation for your style.
  • Work in Sections: Unclip one section at a time and dry in small pieces. Always point the dryer downward to smooth the cuticle and reduce frizz.
  • Boost Volume: Use a round brush, pulling hair upward while drying. Finish with a cool blast to set the shape and keep the volume lasting longer.
  • Minimize Frizz: Use an ionic dryer with a concentrator nozzle for smooth results. Keep the dryer moving and finish with a light serum for shine.
  • Set Your Style: Once dry, use a cool shot of air to seal the cuticle and add shine. Finish with a lightweight styling product for hold.

Your Best Blowout Starts Here!

With the right prep, tools, and technique, you can absolutely get that salon-quality blowout at home! Want expert tips tailored to your hair type? Stop by Therapy Hair Studio in Houston, Texas, for personalized advice and professional recommendations, or visit us online. Our stylists are ready to help you perfect your at-home blowout!


8 Common Hair Extension Mistakes and How to Avoid Them

8 Common Hair Extension Mistakes and How to Avoid Them image

Hair extensions are a fun, affordable way to change your look overnight. They are taking over the hair styling industry, from celebrities to Instagram influencers. Despite their popularity, however, they are relatively new to the mainstream—and, unsurprisingly, people will make mistakes when wearing and applying them. These, then, are the eight most common hair extension mistakes​ and how to avoid them.

Mistake No. 1: Choosing the Wrong Length for Your Hair Extensions

Getting hair extensions with the longest length in the store can be tempting, especially if you have short hair and want a long, luxurious look. However, experts recommend choosing hair extensions that aren’t much longer than your actual hair length, allowing for seamless blending and a more natural look.

Mistake No. 2: Choosing the Wrong Color for Your Hair Extensions

It may seem like a “common sense” sentiment, but getting a hair extension that is as close to your natural color as possible is essential. Professional stylists can always dye human hair extensions but cannot perform miracles. Don’t get blond extensions, for example, if you have black or brown hair, and vice versa.

Some exceptions include if you’re looking for a drastic natural change or going to a costume party. However, consult your hairstylist about your options before drastically changing.

Mistake No. 3: Not Taking Your Lifestyle into Account When Applying Hair Extensions

Active lifestyles—such as those enjoyed by athletes or other on-the-go professionals—frequently involve installing semi-permanent hair extensions. This leaves the extensions vulnerable to the elements and gives them a “ratty” appearance long before their time.

Consult with your stylist about your lifestyle to determine which type of hair extensions are right for you.

Mistake No. 4: Installing Cheap Hair Extensions

When it comes to hair extensions, you get what you pay for. You may think you’re saving money by spending mere pennies on the dollar on your hair extensions or buying them from a drop shipper or a foreign online store. However, you’ll need to buy more low-quality extensions to get the same result as fewer, higher-quality extensions.

Quality, not quantity, is the rule regarding hair extensions. Sometimes, spending just a little bit extra goes a long way.

Mistake No. 5: Putting Clip-In Hair Extensions Too High on the Crown of Your Head

If you’re choosing clip-in hair extensions, a common mistake is putting them high on your head’s crown. Professional stylists, however, recommend not applying clip-in hair extensions any higher than the height of your eyebrows, which sit below the crown of your head. This allows for easy, more natural application of clip-ins and will make the installation look natural.

Mistake No. 6: Washing Your Hair Too Soon After Installing Your Hair Extensions

8 Common Hair Extension Mistakes and How to Avoid Them image 2People who wash their hair daily may be tempted to wash it immediately after a hair extension application. However, this practice can damage the hair extension and cause it to come out.

Instead, wait at least 72 hours before washing your hair. This will allow your extensions—especially if they are taped in—to “cure” in your head, making them less likely to fall out during washing.

Additionally, be sure to wash your hair before installing your hair extensions, but do not put in a conditioner—leave-in or otherwise—as the oils can compromise the integrity of the hair extension adhesive.

Mistake No. 7: Using the Wrong Products to Care for Your Hair Extensions

Hair extensions are just like “regular” human hair: they are subject to breakage and damage, mainly when you use the wrong products. Consult your stylist to see which products best suit your hair style and texture.

Mistake No. 8: Not Getting Therapy Hair Studios to Install Your Hair Extensions

If this is your first time getting hair extensions, you may want to do it yourself – or with the help of an enterprising friend – to save some money. However, regarding hair care, the adage “you get what you pay for” rings true – and not paying for a professional hair extension installation will cost you more than just money in the long run. Avoiding common hair extension mistakes​ can save you time, money, and frustration.

Visiting Therapy Hair Studio in Houston for hair extensions will help you feel beautiful, vibrant, and confident. Since 2008, we’ve been helping thousands of customers feel their best with our caring, individual approach to hair care. Contact us today at (713) 355-4247 to schedule your appointment at our Houston hair extensions salon and get the look you’ve been after.

Related Posts:

How Often Do Hair Extensions Need Replacing?

Five Tips for Maintaining Your Extensions

Therapy Stylists Create Length, Fullness and Dimension with Hair Extensions

The Top 7 Rated Hair Extensions

The 4 Best Extensions for Growing Out Hair