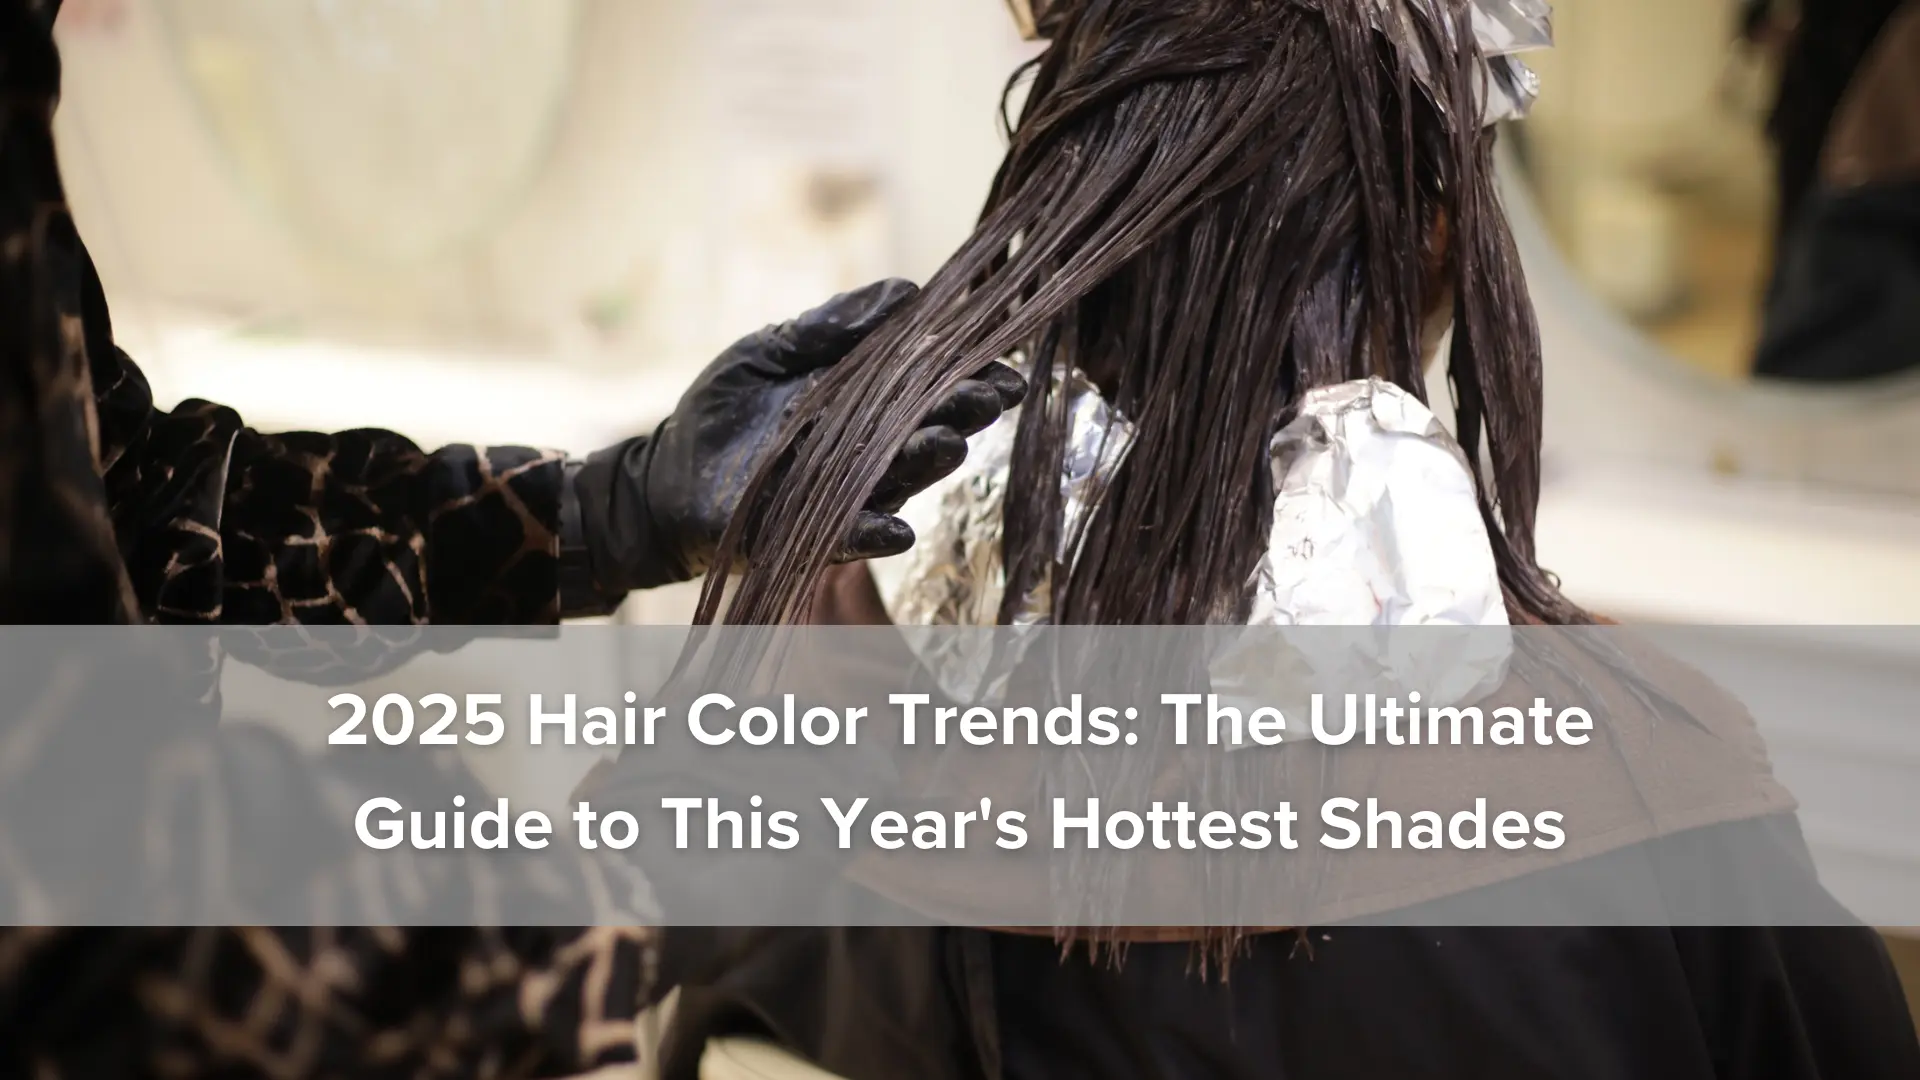
Why Color-Treated Hair Myths Matter
When it comes to color-treated hair, myths spread faster than a fresh balayage. From claims that all color damages hair to warnings that you’ll be locked into a lifetime of touch-ups, myths about color-treated hair can prevent people from achieving the look they’ve always wanted. At Therapy Hair Studio in Houston, our master colorists have spent over 17 years separating fact from fiction, helping thousands of clients maintain beautiful, healthy colored hair.
The truth is, many of these myths are outdated. Modern hair color formulas have evolved dramatically, professional techniques have become more sophisticated, and the right aftercare can keep your colored hair looking vibrant and healthy. Whether you’re considering your first color service or you’re a longtime color enthusiast, understanding the real facts about color-treated hair will help you make informed decisions about your hair care.
Myth #1: “Hair Coloring Always Damages Your Hair”
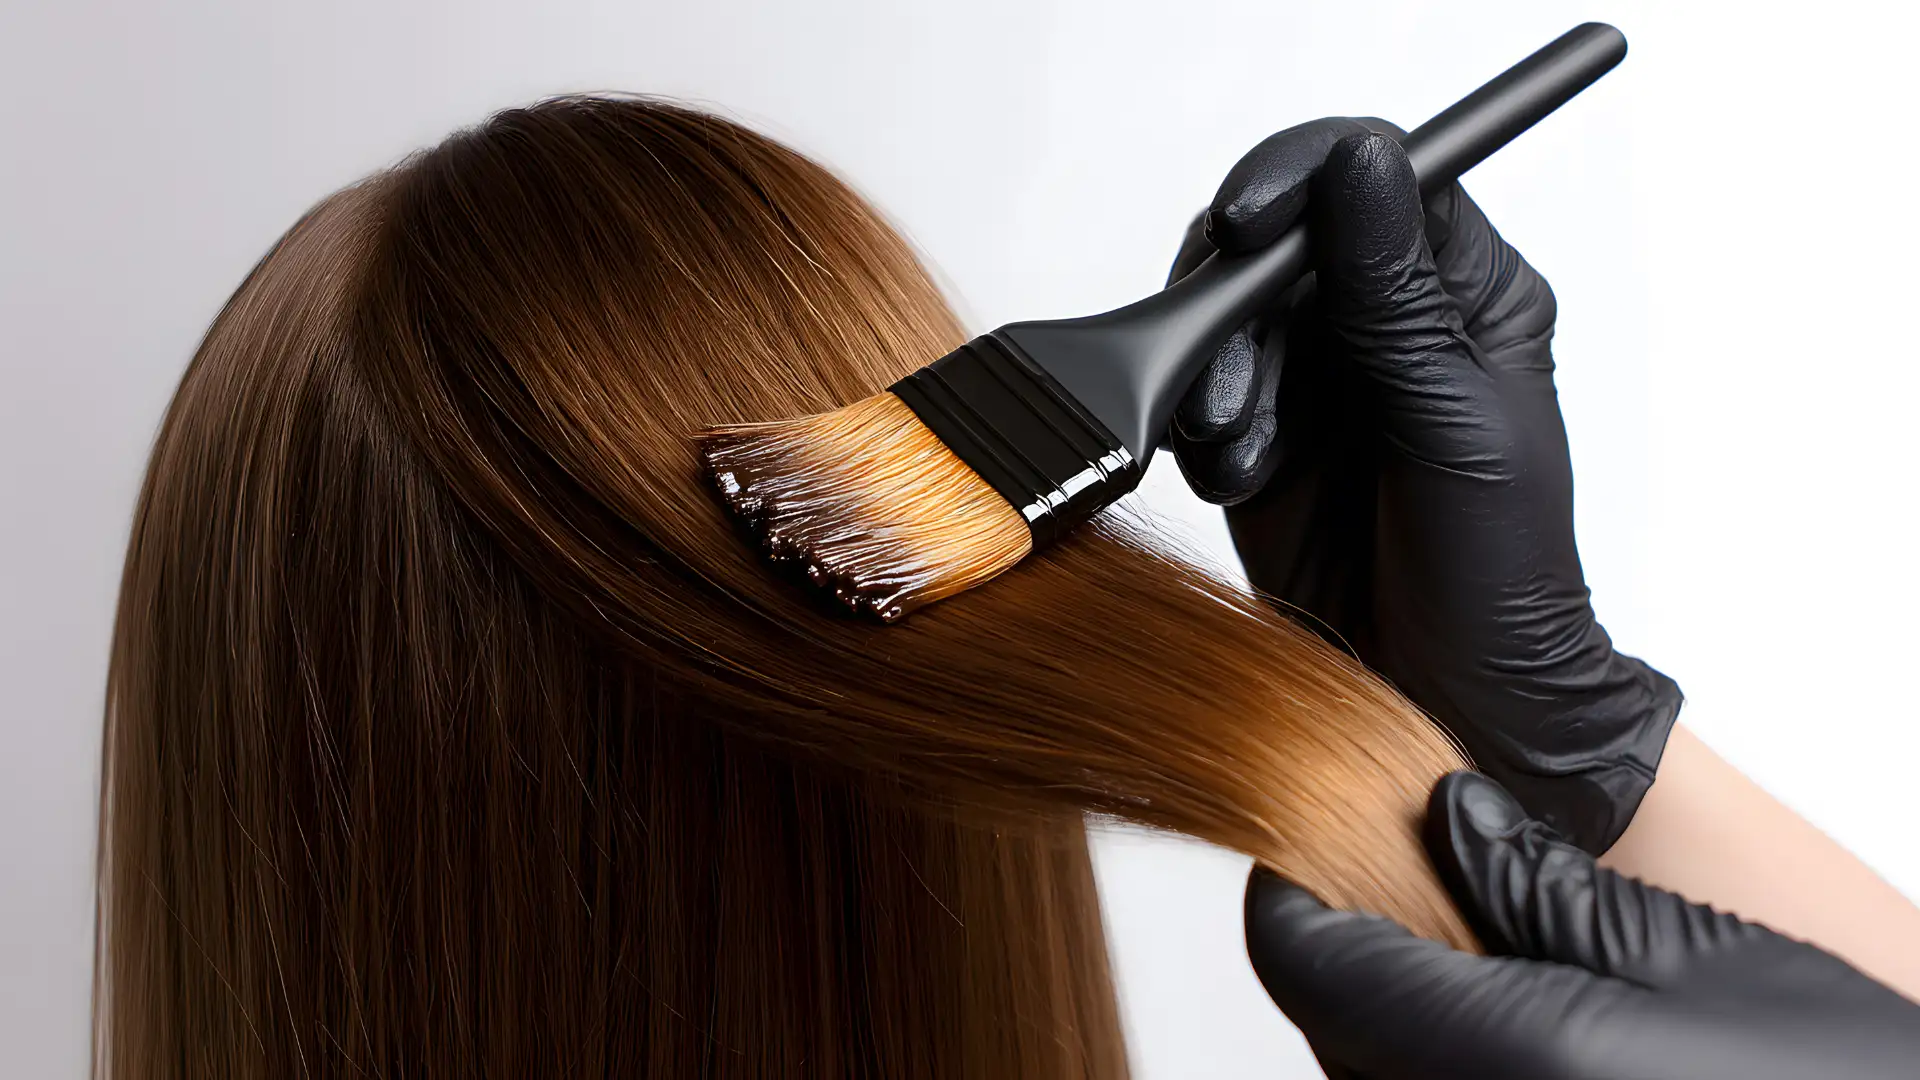
The Truth: Modern hair color formulas have evolved significantly, and when applied by professionals using quality products, coloring doesn’t have to damage your hair.
This is perhaps the most pervasive myth about hair coloring, and it’s understandable why people believe it. Decades ago, hair color formulas were harsh and often left hair dry and brittle. But today’s professional-grade color products are formulated with conditioning agents, proteins, and nourishing ingredients that actually help protect your hair during the coloring process.
The key difference lies in professional application versus at-home coloring. Professional colorists like those at Therapy Hair Studio understand hair structure, porosity, and how different formulas interact with various hair types. They know exactly how long to process color, which products to use, and how to minimize stress on your strands. Additionally, professional salons use premium products that are unavailable in drugstore boxes.
Proper aftercare is equally important. Using color-safe shampoo and conditioner, minimizing heat styling, and getting regular deep conditioning treatments will keep your colored hair healthy and strong. Many of our clients at Therapy Hair Studio have maintained beautiful color for years without experiencing damage—because they’re using the right products and techniques. Learn more about how to keep hair color from fading with our comprehensive guide.
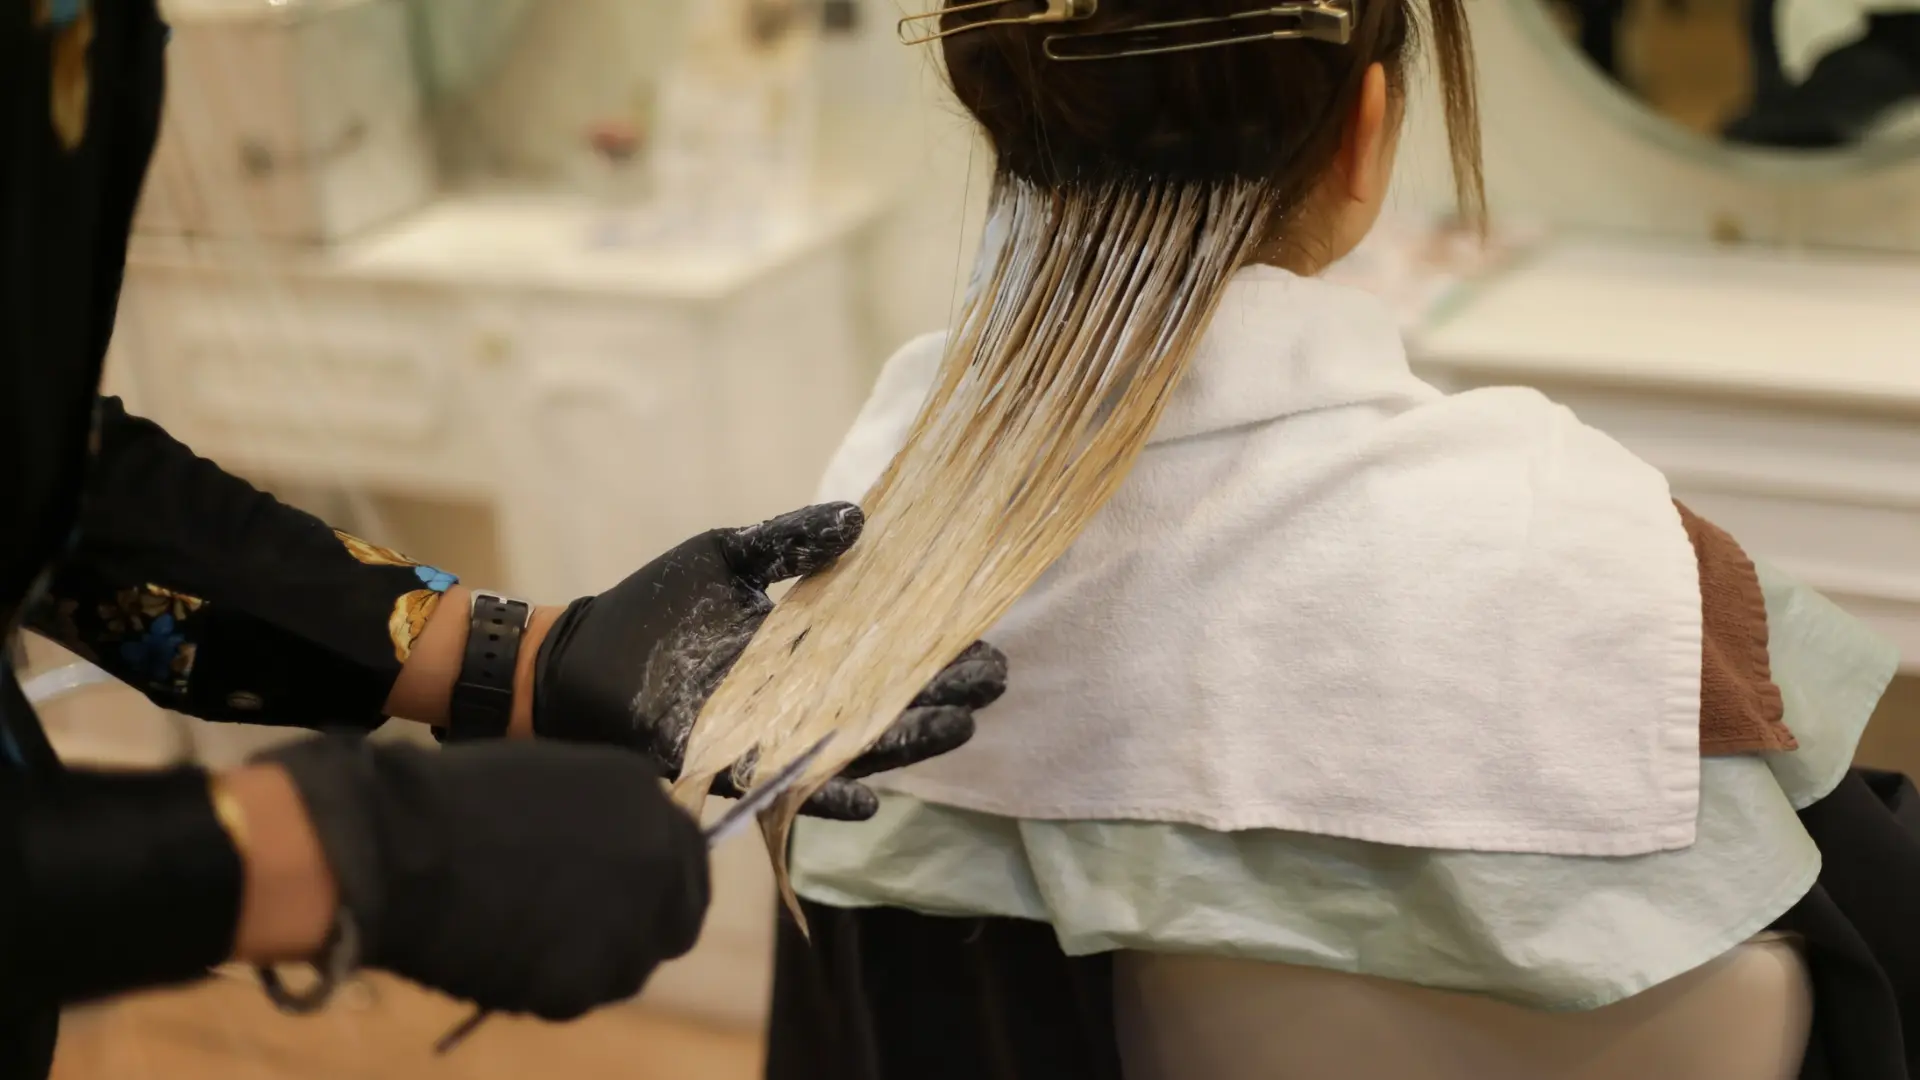
Myth #2: “Lightening Hair Is More Damaging Than Darkening”
The Truth: Both lightening and darkening require proper technique and care. The damage potential depends on the method, the starting hair color, and the desired result—not simply whether you’re going lighter or darker.
This myth persists because lightening hair does require lifting the hair’s natural pigment, which involves more chemical processing than simply depositing color. However, this doesn’t automatically mean it’s more damaging. Modern lightening techniques like balayage and highlights are designed to minimize damage by only processing specific sections of hair rather than the entire head.
Darkening hair can also cause issues if not done correctly. Applying dark color to previously lightened hair, for example, can result in over-processing if the colorist doesn’t account for the hair’s current condition. Additionally, very dark colors can be difficult to remove or lighten later, potentially requiring more processing down the road.
The real factor isn’t whether you’re going lighter or darker—it’s whether your colorist understands your hair’s unique needs and uses appropriate techniques and products. At Therapy Hair Studio, our master colorists assess each client’s hair condition before recommending a color service, ensuring the best possible outcome regardless of whether you’re lightening or darkening your hair. Discover the difference between balayage and highlights to find the right technique for you.
Myth #3: “Colored Hair Always Looks Fake or Dull”
The Truth: Modern color techniques create natural-looking, dimensional results when applied by skilled professionals using quality products and proper color theory.
If you’ve seen obviously fake-looking colored hair, it was likely the result of poor color selection, improper application, or low-quality products—not a limitation of hair coloring itself. Today’s color techniques are incredibly sophisticated, allowing colorists to create depth, dimension, and movement that looks completely natural.
Balayage, for example, is a hand-painted highlighting technique that creates sun-kissed, lived-in color that looks like your hair naturally lightened over time. Ombré and sombre techniques create beautiful gradients. Even solid color applications can look incredibly natural when the right shade is chosen for your skin tone and the formula includes conditioning agents that maintain shine.
The dullness myth often stems from improper aftercare. Colored hair can look dull if you’re using regular shampoo (which strips color), not conditioning regularly, or exposing your hair to excessive heat and sun. Color-safe products are specifically formulated to maintain vibrancy and shine. At Therapy Hair Studio, we don’t just give you beautiful color—we teach you how to maintain it at home so it continues looking fresh and dimensional between appointments. Our hair care basics guide provides expert tips for maintaining your color.
Myth #4: “You Can’t Stop Coloring Once You Start”
The Truth: Your hair doesn’t “need” continuous coloring. Growing out color is absolutely possible, and strategic techniques make the transition easier and more attractive.
This myth likely originated from the idea that once you color your hair, the regrowth will be noticeable and require frequent touch-ups. While it’s true that regrowth becomes visible over time, this doesn’t mean you’re locked into coloring forever. Many people successfully grow out their color using strategic approaches.
Low-maintenance color trends like balayage and lived-in color are specifically designed to blend regrowth beautifully. These techniques place lighter pieces throughout your hair in a way that makes the transition between colored and natural hair less obvious. Some clients intentionally maintain this look for years because they love how it looks and requires fewer touch-ups than traditional all-over color. Explore balayage hair: the ultimate guide to learn more about this versatile technique.
If you decide to stop coloring entirely, your colorist can help you plan a transition strategy. This might involve gradually shifting to a color closer to your natural shade, using strategic placement to blend regrowth, or simply letting your natural color grow in while maintaining the health and style of your hair. The choice is entirely yours—coloring is a commitment you can make or break whenever you want.
Myth #5: “At-Home Coloring Is Just as Good as Salon Coloring”
The Truth: Professional colorists have advanced training, expertise, and access to premium products that simply aren’t available in retail boxes. The results—and long-term health of your hair—reflect this difference.
While drugstore hair color has improved over the years, it cannot compare to professional salon color. Here’s why: Professional colorists undergo extensive training in color theory, hair structure, and application techniques. They understand how to assess your hair’s porosity, determine the right developer strength, and apply color evenly for consistent results.
Professional-grade color products are formulated differently from retail products. They contain higher quality ingredients, better conditioning agents, and more precise pigment formulations. Salon colorists also have access to a much wider range of shades and can custom-mix colors to achieve exactly the result you want. Our Houston hair salon uses only premium professional products.
At-home coloring carries significant risks: uneven color application, over-processing, damage to previously colored hair, and results that don’t match your expectations. Many clients come to Therapy Hair Studio after attempting at-home color, requiring corrective color services that cost more than a professional color service would have in the first place. The investment in professional color pays off in better results, healthier hair, and longer-lasting color. Learn why 4 reasons a professional needs to color your hair matter for your hair’s health.
Myth #6: “Colored Hair Requires Constant Maintenance”
The Truth: Maintenance requirements depend on your color type, technique, and the shade you choose. With the right products and care routine, you can extend the time between appointments significantly.
Not all colored hair requires the same level of maintenance. A balayage with subtle highlights might only need a touch-up every 3-4 months, while a solid dark color might show regrowth more quickly. The key is choosing a color and technique that suits your lifestyle and maintenance preferences. Understanding how often you should get your hair cut also helps with overall hair health.
Color-safe products are essential for extending the life of your color. These shampoos and conditioners are formulated to be gentler on color molecules, helping them stay in your hair longer. Minimizing heat styling, protecting your hair from sun exposure, and getting regular deep conditioning treatments also help maintain color vibrancy. Our guide on how often to wash your hair provides personalized recommendations.
Many clients are surprised to learn that they don’t need to wash their hair as frequently as they thought. Washing colored hair just 1-2 times per week with color-safe products and using dry shampoo between washes can significantly extend the life of your color. At Therapy Hair Studio, we provide personalized guidance on maintaining your specific color between appointments, so you can enjoy beautiful color without feeling like you’re constantly in the salon.
Myth #7: “Hair Loss Is Caused by Coloring”
The Truth: There’s an important distinction between hair loss and breakage. Properly applied professional color does not cause hair loss, though improper application or allergic reactions (which are rare) could potentially cause scalp irritation.
This myth confuses hair loss with breakage. Hair loss occurs when hair falls out from the root, while breakage occurs when the hair shaft breaks. Professional hair coloring does not cause hair loss. The color formula doesn’t affect the hair follicle or root; it only affects the hair shaft itself. Understanding different types of split ends helps distinguish between damage types.
Breakage can occur if hair is over-processed or if someone has a severe allergic reaction to color, but these are rare with professional application. Professional colorists perform patch tests before coloring to check for allergic reactions. They also assess your hair’s condition and won’t proceed with coloring if your hair is too damaged to safely process.
The confusion might also stem from the fact that some people experience temporary shedding after a stressful event (like a chemical service), but this is not the same as hair loss caused by coloring. If you’re concerned about hair loss, a dermatologist can help determine the actual cause. At Therapy Hair Studio, we prioritize your hair’s health and will never recommend a service that could compromise it. Learn about how to protect hair from sun damage to maintain color vibrancy.
Myth #8: “Brassiness Is Unavoidable in Colored Hair”
The Truth: Brassiness is preventable and manageable with proper shade selection, toning products, and professional maintenance. It’s not an inevitable part of having colored hair.
Brassiness—that unwanted orange or yellow tone that can develop in lightened or blonde hair—is one of the most common complaints about colored hair. But here’s the good news: it’s completely preventable and manageable. Our guide on how often you should use purple shampoo as a blonde provides expert recommendations.
Professional colorists understand color theory and undertones. When selecting a shade for you, they consider not just the color you want, but also your skin tone, natural hair color, and how the shade will interact with your hair’s undertones. They might recommend a shade with cooler undertones to prevent brassiness from developing in the first place. Explore hair color ideas that complement your skin tone for personalized recommendations.
Toning shampoos and conditioners are specifically designed to neutralize brassy tones. Purple shampoo for blonde hair and blue shampoo for brunette hair deposit cool-toned pigment that counteracts warmth. Using these products 1-2 times per week can keep your color looking fresh and cool-toned.
If brassiness does develop, a professional gloss or toner appointment can quickly restore your color to its intended shade. Many of our clients at Therapy Hair Studio schedule regular gloss appointments every 4-6 weeks to maintain their color’s vibrancy and prevent brassiness from becoming an issue.
Why Choose Therapy Hair Studio for Color-Treated Hair
 Since 2008, Therapy Hair Studio has been transforming hair in Houston’s prestigious Galleria area. Our master stylists, David Bamford and Luis Perez, founded the salon with a commitment to providing precision cuts, color, and styling that help each client look and feel their absolute best. Learn more about choosing the best professional hair stylist for you.
Our team includes specialized colorists like Kelsey Champion, Victoria Souder, and Lilli, who have built loyal client bases through years of delivering exceptional color results. One client, Debbie P., has been coming to Lilli for color for 12 years and says she’s “never had anything less than perfection every single time.” Another long-time client, Margaret S., has been with colorist Victoria for four years and describes feeling “marvelous” and “spectacular” after every appointment. Read more testimonials from our satisfied clients.
What sets Therapy Hair Studio apart is our holistic approach to color. We do more than apply color and send you on your way — we evaluate your hair’s condition, discuss your goals and lifestyle, and choose the color technique that best suits you. Then, we show you how to care for your color at home. Our stylists use premium salon-grade products and advanced techniques to achieve results you won’t find anywhere else. Discover our hair color services and find the perfect solution for your needs.
Our salon experience is designed to be relaxing and enjoyable. Enjoy champagne, wine, tea, or a hot cappuccino while our expert colorists work their magic. We’re located at 2727 Saint St., Houston, TX 77027, and we’re ready to help you achieve the beautiful, healthy, colored hair you’ve always wanted. Visit our about us page to learn more about our salon’s philosophy and team.
Ready to experience Therapy Hair Studio‘s difference? Call us at (713) 355-4247 to schedule your color consultation today.
FAQs About Color-Treated Hair
Q: How often should I wash my colored hair?
A: We recommend waiting 48-72 hours after coloring before your first wash to allow the color to fully set. After that, wash your colored hair just 1-2 times per week using color-safe shampoo and conditioner. Use dry shampoo between washes to extend the time between washings and help maintain your color. Learn more about hair care basics for colored hair.
Q: What’s the best way to maintain my hair color between appointments?
A: Use color-safe shampoo and conditioner, minimize heat styling, protect your hair from sun exposure, and get regular deep conditioning treatments. Consider scheduling a gloss or toner appointment every 4-6 weeks to refresh your color and maintain vibrancy. At Therapy Hair Studio, we can recommend specific products and routines tailored to your color. Explore our color services for professional maintenance options.
Q: Can I color my hair if it’s already damaged?
A: It depends on the extent of the damage. Professional colorists can assess your hair’s condition and recommend treatments to restore health before coloring. In some cases, we might recommend waiting and doing restorative treatments first. We never recommend a color service that could compromise your hair’s health. Learn about how to keep your hair healthy and free of split ends.
Q: How long does hair color typically last?
A: This depends on the type of color: Semi-permanent color typically lasts 4-6 weeks, demi-permanent color lasts about 24 shampoos, and permanent color fades gradually over 4-6 weeks (though it doesn’t completely wash out). The longevity also depends on how often you wash your hair and the products you use. Discover how long will my balayage last for specific technique information.
Q: Is it safe to color hair frequently?
A: With proper products and professional application, yes. However, spacing out appointments when possible helps maintain your hair’s health. If you need frequent touch-ups, consider switching to a color technique like balayage that requires less frequent maintenance. Our balayage vs. traditional hair coloring guide explains the benefits.
Q: What should I do if my colored hair turns brassy?
A: Use a purple or blue toning shampoo (depending on your hair color) 1-2 times per week to neutralize brassy tones. If brassiness is severe, schedule a gloss or toner appointment with your colorist to quickly restore your color to its intended shade. Learn more about how often you should use purple shampoo as a blonde for professional recommendations.